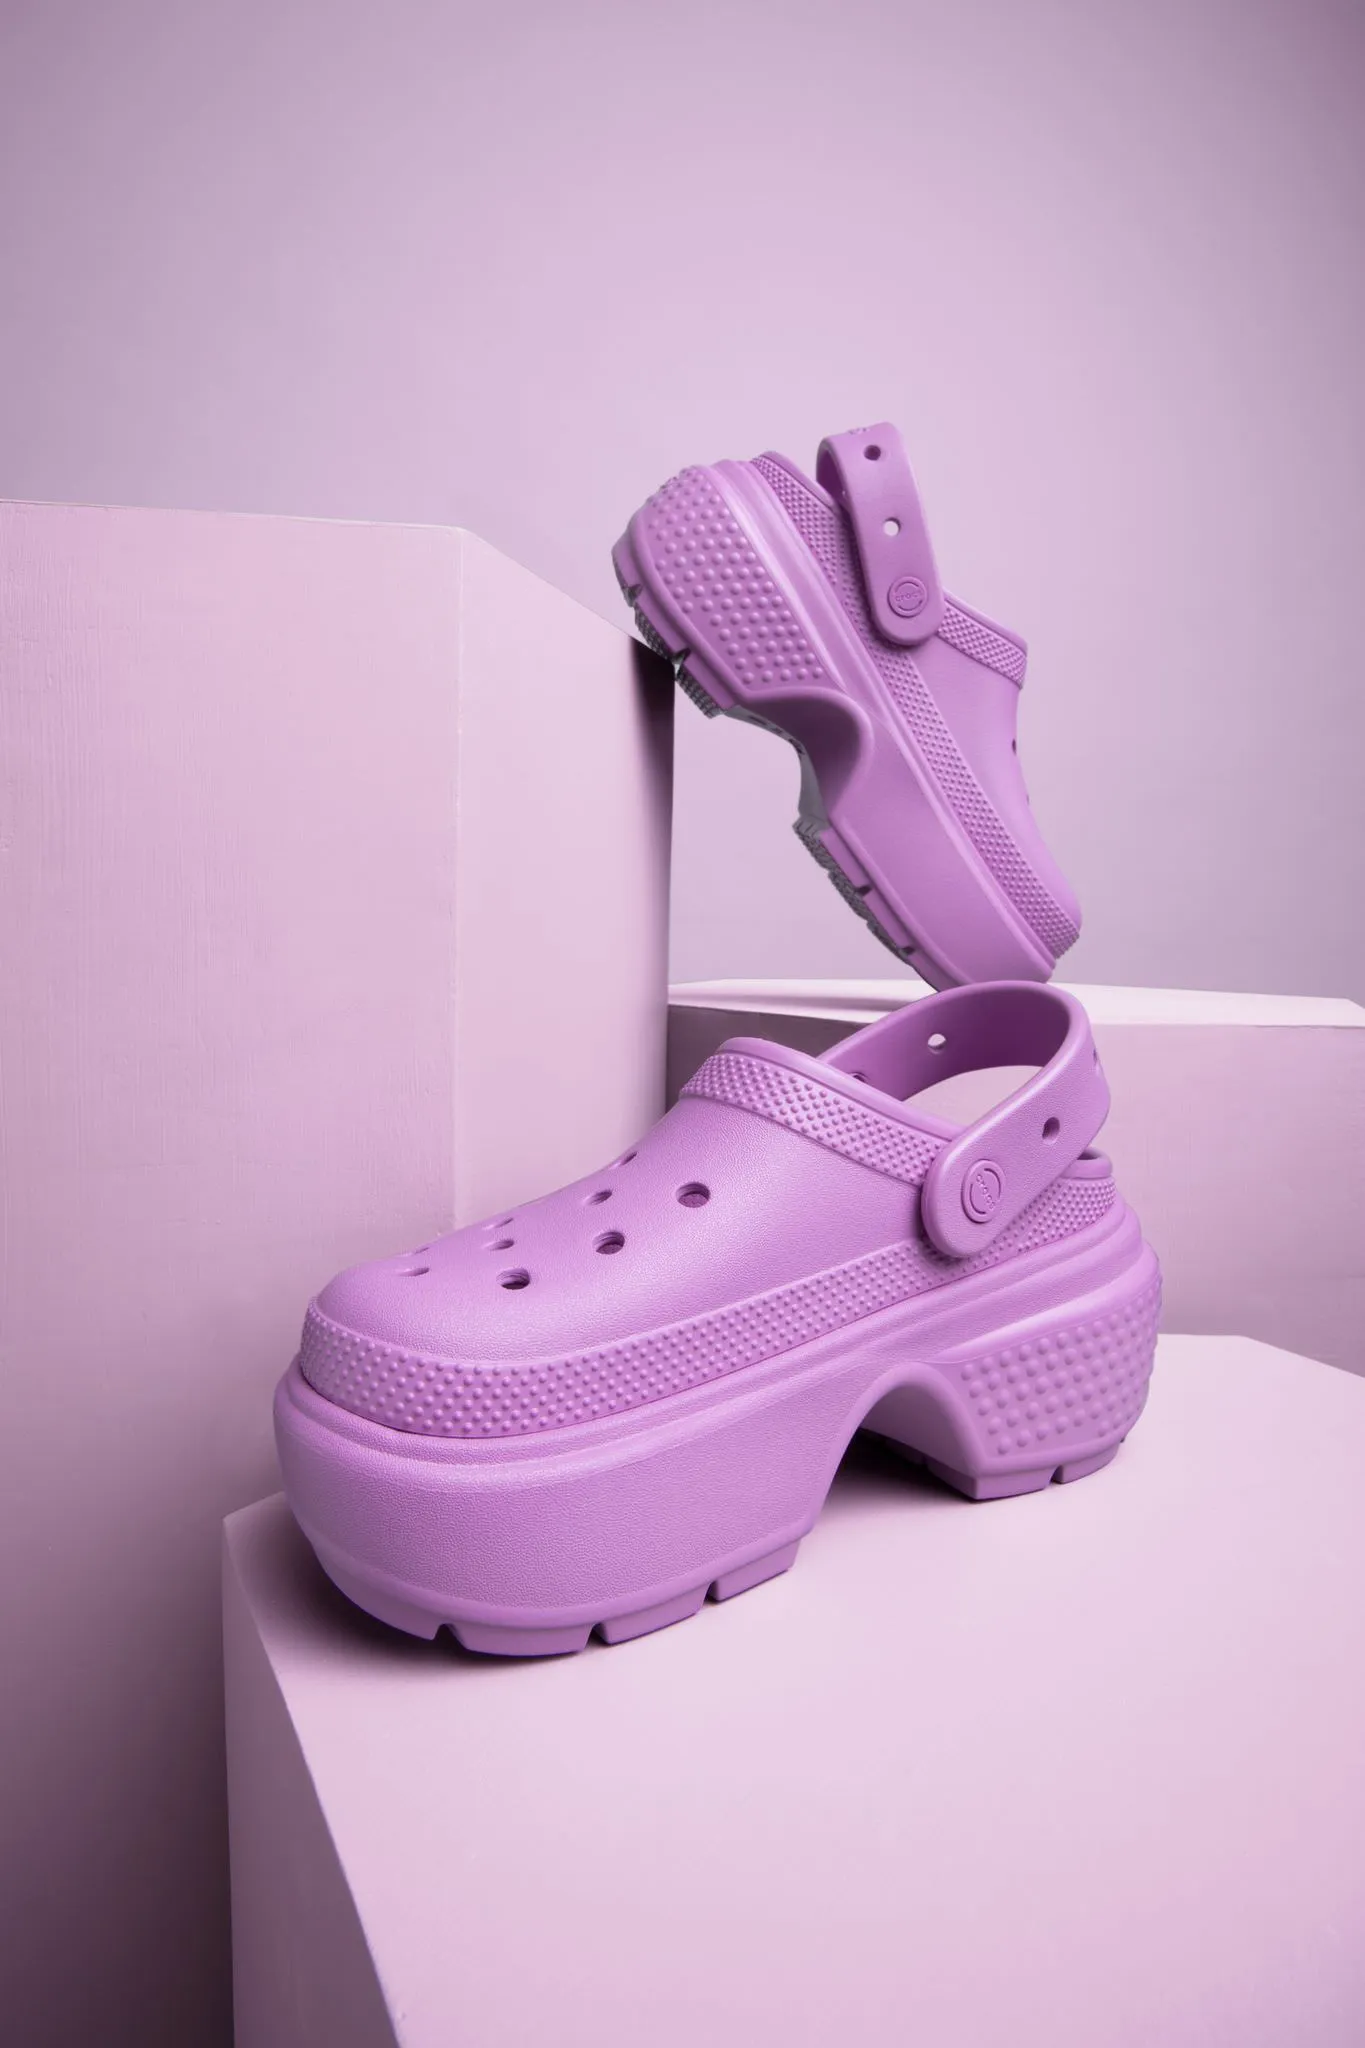
Capturing well-lit photos without unwanted shadows is crucial for showcasing your photos in the best light (no pun intended). Because of the nature of photography lighting, it can be challenging to eliminate unwanted shadows during the shoot.
In this article, find out how to eliminate shadows in product photography. Whether you’re shooting in a studio or editing in post-production, these tips and tricks will help you achieve professional images that make your products the star of the show!
What causes shadows in product photography?
One word: science. Photography is all about manipulating and capturing light. You want the side of the product you’re photographing to be well lit. But the other side of that product will now have a shadow. The art of photography involves manipulating your scene to capture it in the best way for your products.
Amateur and professional photographers alike work with shadows—whether they like it or not. And when the shadow is unwanted or unflattering, there are ways to eliminate it, both on set and in post-production.
7 tips to avoid shadows in product photography
Tip #1: Use a lightbox
To minimize shadows during your shoot, consider using a lightbox.
A lightbox is a specially designed box with a bright white interior that diffuses light and provides a clean background for your products. It creates a controlled lighting environment, eliminating harsh shadows and providing consistent lighting on your products. The diffusion of light within the lightbox ensures soft and even illumination, resulting in stunning product images.
Lightboxes are available in various sizes and budgets, making them a versatile option for product photography. By using a lightbox, you can effectively eliminate shadows and create well-lit product photos.
Tip #2: Replicate soft light
Soft light creates a flattering illumination on your products and reduces shadows in the process. Natural indirect light, such as the soft light that pours through a window on a sunny day, can produce beautiful results.

If you can’t schedule your photoshoot around natural light, you can still achieve soft lighting indoors.
One approach is to use a sheer sheet or a piece of paper to diffuse harsh light sources. Place the sheet or paper in front of the light source, allowing some light to pass through while softening the intensity. Conduct your photo shoot near a bright window and adjust the curtains or blinds to control the amount of light entering the room. This method provides a cost-effective way to achieve great lighting conditions and eliminate harsh shadows.
Tip #3: Avoid flash
Using the built-in flash on your camera isn’t recommended when you want to eliminate shadows. The flash produces a concentrated, bright, and harsh light that can create unflattering shadows and glare on your products.
Instead of relying on the flash, use a proper lighting setup and other techniques mentioned in this article to create the desired brightness and turn off the flash. While using the flash may save you time and money during the shoot, it will ultimately lead to undesirable product photos that require extensive editing to correct the shadows and glare.
Tip #4: Bounce light back toward the light source
Reflectors are a common photography tool used to bounce back light and reduce shadows. And you don’t necessarily need a professional reflector to achieve this effect. A simple white poster board can work just as effectively on a budget.
Experiment with the angle and position of the reflector or poster board to bounce light from the light source back onto the spot where the shadow was cast. Test shots will help you visualize the impact of bouncing light and determine the optimal position for your specific product.
{{tools-ad}}
Tip #5: Use two light sources
Using two light sources can help reduce shadows by providing additional illumination from different angles.

Similar to the technique of bouncing light, you'll need to experiment with the positioning and intensity of the lights to find what works best for your shot. However, it's important to be cautious with two light sources, as they can potentially cause the image to appear too blown out or create multiple shadows. Adjust the lights accordingly and find the right balance to achieve well-lit product photos without excessive shadows.
Tip #6: Digitally eliminate shadows with editing apps
If you're comfortable with photo editing and want to save time and budget on additional equipment, digitally eliminating shadows in post-production can be an effective solution.
When shooting your product photos, try to make the shadows as simple as possible by using a white background or minimizing complex props and dynamic backgrounds. This will make the editing process easier and less time-consuming.
There are photo editing apps available for all budgets and skill sets, ranging from free mobile apps to full-featured software. Adobe Lightroom can help adjust color and light to reduce shadows, for example, and more advanced software like Photoshop allows for precise photo manipulation to completely remove shadows from the shot.
Tip #7: Play with manual settings on your camera
While there’s no magic setting on your camera that can instantly eliminate shadows, working in manual mode can assist you in capturing sharp photos with the right white balance, reducing the need for extensive post-production editing.
Adjusting your camera's settings can help optimize the exposure and lighting conditions for your specific product and shooting environment. Consider the following settings:
- Shutter speed: Set the shutter speed between 1/60 and 1/200 to capture sharp images without excessive motion blur.
- Depth of field: Reduce the depth of field to create a blurred background, which can help minimize distractions and focus attention on the product.
- White balance: Experiment with different white balance settings to achieve accurate colors and eliminate any color casts caused by artificial or mixed lighting sources.
By fine-tuning these manual settings, you can enhance your photos during the shooting process and reduce the need for extensive shadow correction in post-production.
Shine the light on your shadows with soona
Eliminating shadows from your product photos is essential for creating professional and visually appealing images that highlight the true quality and features of your products. By following the seven tips and tricks outlined in this article, you can effectively eliminate unwanted shadows and achieve well-lit product photos.
{{blog-mini-ad-green}}
Capturing well-lit photos without unwanted shadows is crucial for showcasing your photos in the best light (no pun intended). Because of the nature of photography lighting, it can be challenging to eliminate unwanted shadows during the shoot.
In this article, find out how to eliminate shadows in product photography. Whether you’re shooting in a studio or editing in post-production, these tips and tricks will help you achieve professional images that make your products the star of the show!
What causes shadows in product photography?
One word: science. Photography is all about manipulating and capturing light. You want the side of the product you’re photographing to be well lit. But the other side of that product will now have a shadow. The art of photography involves manipulating your scene to capture it in the best way for your products.
Amateur and professional photographers alike work with shadows—whether they like it or not. And when the shadow is unwanted or unflattering, there are ways to eliminate it, both on set and in post-production.
7 tips to avoid shadows in product photography
Tip #1: Use a lightbox
To minimize shadows during your shoot, consider using a lightbox.
A lightbox is a specially designed box with a bright white interior that diffuses light and provides a clean background for your products. It creates a controlled lighting environment, eliminating harsh shadows and providing consistent lighting on your products. The diffusion of light within the lightbox ensures soft and even illumination, resulting in stunning product images.
Lightboxes are available in various sizes and budgets, making them a versatile option for product photography. By using a lightbox, you can effectively eliminate shadows and create well-lit product photos.
Tip #2: Replicate soft light
Soft light creates a flattering illumination on your products and reduces shadows in the process. Natural indirect light, such as the soft light that pours through a window on a sunny day, can produce beautiful results.

If you can’t schedule your photoshoot around natural light, you can still achieve soft lighting indoors.
One approach is to use a sheer sheet or a piece of paper to diffuse harsh light sources. Place the sheet or paper in front of the light source, allowing some light to pass through while softening the intensity. Conduct your photo shoot near a bright window and adjust the curtains or blinds to control the amount of light entering the room. This method provides a cost-effective way to achieve great lighting conditions and eliminate harsh shadows.
Tip #3: Avoid flash
Using the built-in flash on your camera isn’t recommended when you want to eliminate shadows. The flash produces a concentrated, bright, and harsh light that can create unflattering shadows and glare on your products.
Instead of relying on the flash, use a proper lighting setup and other techniques mentioned in this article to create the desired brightness and turn off the flash. While using the flash may save you time and money during the shoot, it will ultimately lead to undesirable product photos that require extensive editing to correct the shadows and glare.
Tip #4: Bounce light back toward the light source
Reflectors are a common photography tool used to bounce back light and reduce shadows. And you don’t necessarily need a professional reflector to achieve this effect. A simple white poster board can work just as effectively on a budget.
Experiment with the angle and position of the reflector or poster board to bounce light from the light source back onto the spot where the shadow was cast. Test shots will help you visualize the impact of bouncing light and determine the optimal position for your specific product.
{{tools-ad}}
Tip #5: Use two light sources
Using two light sources can help reduce shadows by providing additional illumination from different angles.

Similar to the technique of bouncing light, you'll need to experiment with the positioning and intensity of the lights to find what works best for your shot. However, it's important to be cautious with two light sources, as they can potentially cause the image to appear too blown out or create multiple shadows. Adjust the lights accordingly and find the right balance to achieve well-lit product photos without excessive shadows.
Tip #6: Digitally eliminate shadows with editing apps
If you're comfortable with photo editing and want to save time and budget on additional equipment, digitally eliminating shadows in post-production can be an effective solution.
When shooting your product photos, try to make the shadows as simple as possible by using a white background or minimizing complex props and dynamic backgrounds. This will make the editing process easier and less time-consuming.
There are photo editing apps available for all budgets and skill sets, ranging from free mobile apps to full-featured software. Adobe Lightroom can help adjust color and light to reduce shadows, for example, and more advanced software like Photoshop allows for precise photo manipulation to completely remove shadows from the shot.
Tip #7: Play with manual settings on your camera
While there’s no magic setting on your camera that can instantly eliminate shadows, working in manual mode can assist you in capturing sharp photos with the right white balance, reducing the need for extensive post-production editing.
Adjusting your camera's settings can help optimize the exposure and lighting conditions for your specific product and shooting environment. Consider the following settings:
- Shutter speed: Set the shutter speed between 1/60 and 1/200 to capture sharp images without excessive motion blur.
- Depth of field: Reduce the depth of field to create a blurred background, which can help minimize distractions and focus attention on the product.
- White balance: Experiment with different white balance settings to achieve accurate colors and eliminate any color casts caused by artificial or mixed lighting sources.
By fine-tuning these manual settings, you can enhance your photos during the shooting process and reduce the need for extensive shadow correction in post-production.
Shine the light on your shadows with soona
Eliminating shadows from your product photos is essential for creating professional and visually appealing images that highlight the true quality and features of your products. By following the seven tips and tricks outlined in this article, you can effectively eliminate unwanted shadows and achieve well-lit product photos.
{{blog-mini-ad-green}}


