

Quality product photos and videos are in increasingly high demand across all digital platforms, from ecommerce sites to social media platforms. You can drastically increase the likelihood of converting a browsing shopper to a loyal customer with stunning, professional content.
Shadows, when used correctly, are a great example of a simple, subtle touch that can transform your product photos from amateur to pro. Below, learn how you can strategically use product photography shadows to take your product content to the next level.
Why shadows are important
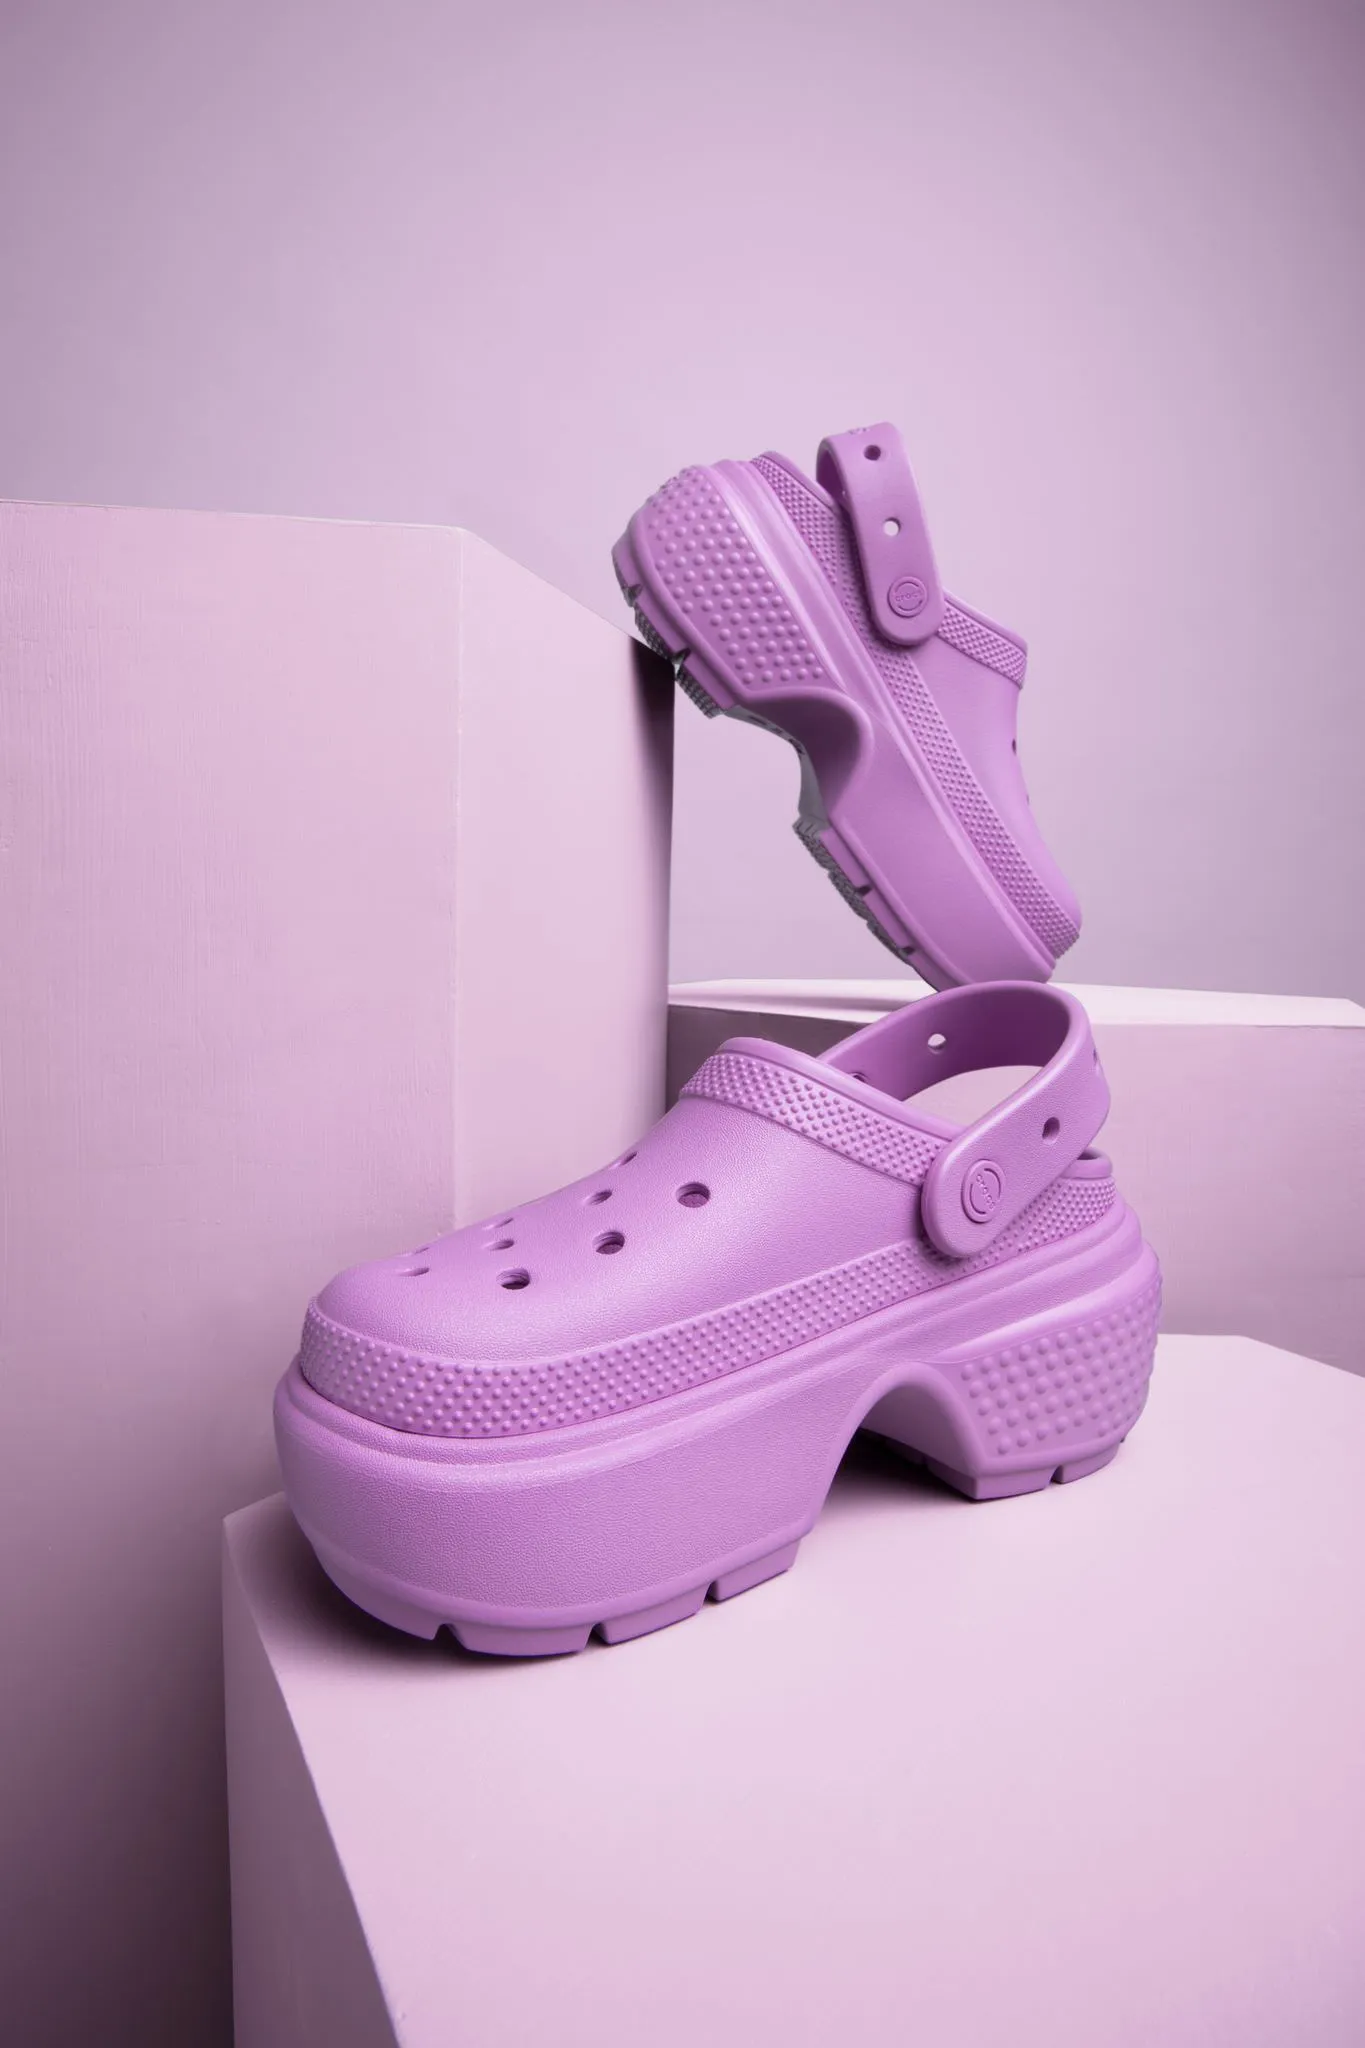
Shadows enhance the visual complexity of a photo. They turn a simple, flat shot into a three-dimensional experience for the viewer. Shadows also improve the visual appeal of your photos, giving them a more realistic and balanced look.

The use of shadows in photography is an art form. Photographers often use shadows to manipulate the light and create a soft or darkening effect on an object. This simple yet creative touch elevates the photo’s overall composition and sets it apart from your average shot.
In product photography, shadows can add context to your product shot and draw shoppers’ attention to the story you’re trying to tell. When used effectively, shadows can elevate the digital look of your product, making it feel more natural and tangible to the customer.
{{tools-ad}}
Should all product photos use shadows?
Shadows add depth and dimension, bringing more attention to certain aspects or details of the product. However, not all product photos should use shadows. In fact, there are plenty of examples where shadows distract from the product or clash with the goals of your photoshoot.
For example, if you’re displaying a clothing item on a ghost mannequin, you’d likely avoid any unnecessary shadows, so they don’t distort the size or details of the item. Photographers also try to avoid unwanted shadows in photos with models because they can distract the viewer or dominate valuable white space in the shot.
Ultimately, it's up to you and the creative vision of your shoot to determine whether or not shadows are appropriate in your photos. To help you decide, let’s look at the different types of light and how it affects shadows in photography.
Hard vs. soft light: what’s the difference?
Proper lighting is key to creating a photo's desired visual effect and mood. Regarding the quality of light, there are two main types: hard light and soft light. Both have a direct impact on how the shadows appear in a photo.
- Hard light creates a sharp, immediate transition between the light and the shadow. It draws attention to a specific part of the photo, like the definition of an accessory or beauty item.
- Soft light creates a more gentle, diffused transition. It is often considered a more flattering and natural-looking light.
You can use hard and soft light in product photography interchangeably. That said, the right light for your products will depend on the product itself, the intended effect, and the available lighting options. In some instances, you'll want to use hard shadows, while soft ones will do the trick in others.
Common types of shadows used in product photography
There are numerous options for shadows, but we'll concentrate on three that are the most common and effective for product photography. Remember, the ideal type of shadow for your products will depend on the vibe and effect you’re trying to achieve.
Natural shadows
A natural shadow refers to the shadow your product would cast in its natural environment if exposed to light. Natural shadows, whether added during the shoot or in post-production, are the best way to add a realistic, authentic look to your photos.

Natural shadows are one of the most versatile shadowing effects. You can add natural shadows to just about any product photo. They’re also one of the easiest effects to achieve in a photo, as natural shadows don’t require additional lights or manual manipulation.
One disadvantage of natural shadows is they can be challenging to control on products with complex parts or shapes, like jewelry items. In this case, it’s best to add a natural, soft shadow to the photo during your post-production process.
Reflection shadows
A reflection shadow is a shadowing effect that creates an optical illusion for the viewer. Photographers use this technique to make an object look like it’s resting on a reflective surface, like a display case in a store. Doing this allows you to easily give your product photos a more refined, dramatic look.

This shadowing effect can also create a sense of scale and realism for smaller items like sunglasses, watches, and jewelry. It helps customers visualize an object's different features and attributes without ever holding it in their hands.
One creative, cost-effective way to add a reflection shadow to your product shots is with plexiglass. With a sheet of acrylic material like plexiglass, you can add the perfect reflection to a shot without needing any techy editing skills.
Drop shadows
A drop shadow, or a box shadow, is like a reflective shadow in that it creates an illusion that an object is sitting on a surface. However, unlike a reflective shadow, it doesn’t use the effect of a reflective surface. Instead, drop shadows simulate the shadows cast by sunlight falling directly on an object. It gives the illusion that the item is being photographed from above—almost like a flat lay photo.

Home goods photography frequently uses drop shadows to give furniture and other home decor items more depth and shape. Rather than having a product appear to float in space against a blank white background, a drop shadow can add some much-needed visual context.
Drop shadows are best achieved during a photoshoot. However, there are plenty of ways to add a drop shadow to a photo during post-production.
How to add product photography shadows in Photoshop
Creating the ideal shadow for your product shots in the studio can be challenging. Luckily, with post-production editing tools like Adobe Photoshop, adding shadows after the shoot is a breeze.
While you can add numerous types of shadows during post-production, we'll focus on one of the best shadows for product photos: the drop shadow. Here’s a step-by-step guide to creating a drop shadow in Photoshop.
Step 1: Select the layer
Launch Photoshop and select the layer where you want to add the drop shadow.
Step 2: Add your drop shadow
Next, click the FX icon at the bottom of your layers panel and select the “Drop Shadow” function.
Step 3: Customize it
Inside the Drop Shadow Layer dialog box, you can add the Structure and Quality effects you want to your shadow.
Step 4: Add finishing touches
To add finishing touches, use the eraser tool brush to soften any hard shadows around your shadow layer.
Step 5: Lock in your changes
Once you’re finished click OK to apply your new changes. And that’s it. You've successfully created your own drop shadow!
Hand your shadow edits over to soona
With the proper technique and approach, shadows can turn an average photo into something stunning. Shadowing effects help bring your product to life and highlight the finer details. Upgrade the visual appeal of your product photos and entice customers to learn more about your brand with this simple photography hack.
But not everyone has the time to fumble in Photoshop, or the skills necessary to achieve advanced edits. That’s where soona’s post-production services come in. We can edit any product asset for you, perfectly optimized and sized for any commerce or advertising channel you need.
Outside photo and video editing
Let our team retouch and enhance any outside assets for you—from product photos to video clips. Pricing as low as $9 per asset, plus a monthly subscription or a one-time booking fee.
GET STARTED
Shadows in product photography FAQs
Should product photography have shadows?
Shadows in product photography can be both beneficial and detrimental, depending on how they're used. Well-managed shadows can add depth, dimension, and realism to a product image, making it appear more three-dimensional and appealing. They can highlight the product's texture and features, giving customers a better sense of what they are purchasing. Poorly controlled shadows can obscure important details and make the product look unprofessional. Harsh, dark shadows may distract from the product itself or create an unbalanced composition.
What are the different types of shadows in product photography?
The different types of shadows in product photography include:
How to avoid shadows when taking pictures?
Quality product photos and videos are in increasingly high demand across all digital platforms, from ecommerce sites to social media platforms. You can drastically increase the likelihood of converting a browsing shopper to a loyal customer with stunning, professional content.
Shadows, when used correctly, are a great example of a simple, subtle touch that can transform your product photos from amateur to pro. Below, learn how you can strategically use product photography shadows to take your product content to the next level.
Why shadows are important
Shadows enhance the visual complexity of a photo. They turn a simple, flat shot into a three-dimensional experience for the viewer. Shadows also improve the visual appeal of your photos, giving them a more realistic and balanced look.
The use of shadows in photography is an art form. Photographers often use shadows to manipulate the light and create a soft or darkening effect on an object. This simple yet creative touch elevates the photo’s overall composition and sets it apart from your average shot.
In product photography, shadows can add context to your product shot and draw shoppers’ attention to the story you’re trying to tell. When used effectively, shadows can elevate the digital look of your product, making it feel more natural and tangible to the customer.
{{tools-ad}}
Should all product photos use shadows?
Shadows add depth and dimension, bringing more attention to certain aspects or details of the product. However, not all product photos should use shadows. In fact, there are plenty of examples where shadows distract from the product or clash with the goals of your photoshoot.
For example, if you’re displaying a clothing item on a ghost mannequin, you’d likely avoid any unnecessary shadows, so they don’t distort the size or details of the item. Photographers also try to avoid unwanted shadows in photos with models because they can distract the viewer or dominate valuable white space in the shot.
Ultimately, it's up to you and the creative vision of your shoot to determine whether or not shadows are appropriate in your photos. To help you decide, let’s look at the different types of light and how it affects shadows in photography.
Hard vs. soft light: what’s the difference?
Proper lighting is key to creating a photo's desired visual effect and mood. Regarding the quality of light, there are two main types: hard light and soft light. Both have a direct impact on how the shadows appear in a photo.
- Hard light creates a sharp, immediate transition between the light and the shadow. It draws attention to a specific part of the photo, like the definition of an accessory or beauty item.
- Soft light creates a more gentle, diffused transition. It is often considered a more flattering and natural-looking light.
You can use hard and soft light in product photography interchangeably. That said, the right light for your products will depend on the product itself, the intended effect, and the available lighting options. In some instances, you'll want to use hard shadows, while soft ones will do the trick in others.
Common types of shadows used in product photography
There are numerous options for shadows, but we'll concentrate on three that are the most common and effective for product photography. Remember, the ideal type of shadow for your products will depend on the vibe and effect you’re trying to achieve.
Natural shadows
A natural shadow refers to the shadow your product would cast in its natural environment if exposed to light. Natural shadows, whether added during the shoot or in post-production, are the best way to add a realistic, authentic look to your photos.
Natural shadows are one of the most versatile shadowing effects. You can add natural shadows to just about any product photo. They’re also one of the easiest effects to achieve in a photo, as natural shadows don’t require additional lights or manual manipulation.
One disadvantage of natural shadows is they can be challenging to control on products with complex parts or shapes, like jewelry items. In this case, it’s best to add a natural, soft shadow to the photo during your post-production process.
Reflection shadows
A reflection shadow is a shadowing effect that creates an optical illusion for the viewer. Photographers use this technique to make an object look like it’s resting on a reflective surface, like a display case in a store. Doing this allows you to easily give your product photos a more refined, dramatic look.
This shadowing effect can also create a sense of scale and realism for smaller items like sunglasses, watches, and jewelry. It helps customers visualize an object's different features and attributes without ever holding it in their hands.
One creative, cost-effective way to add a reflection shadow to your product shots is with plexiglass. With a sheet of acrylic material like plexiglass, you can add the perfect reflection to a shot without needing any techy editing skills.
Drop shadows
A drop shadow, or a box shadow, is like a reflective shadow in that it creates an illusion that an object is sitting on a surface. However, unlike a reflective shadow, it doesn’t use the effect of a reflective surface. Instead, drop shadows simulate the shadows cast by sunlight falling directly on an object. It gives the illusion that the item is being photographed from above—almost like a flat lay photo.
Home goods photography frequently uses drop shadows to give furniture and other home decor items more depth and shape. Rather than having a product appear to float in space against a blank white background, a drop shadow can add some much-needed visual context.
Drop shadows are best achieved during a photoshoot. However, there are plenty of ways to add a drop shadow to a photo during post-production.
How to add product photography shadows in Photoshop
Creating the ideal shadow for your product shots in the studio can be challenging. Luckily, with post-production editing tools like Adobe Photoshop, adding shadows after the shoot is a breeze.
While you can add numerous types of shadows during post-production, we'll focus on one of the best shadows for product photos: the drop shadow. Here’s a step-by-step guide to creating a drop shadow in Photoshop.
Step 1: Select the layer
Launch Photoshop and select the layer where you want to add the drop shadow.
Step 2: Add your drop shadow
Next, click the FX icon at the bottom of your layers panel and select the “Drop Shadow” function.
Step 3: Customize it
Inside the Drop Shadow Layer dialog box, you can add the Structure and Quality effects you want to your shadow.
Step 4: Add finishing touches
To add finishing touches, use the eraser tool brush to soften any hard shadows around your shadow layer.
Step 5: Lock in your changes
Once you’re finished click OK to apply your new changes. And that’s it. You've successfully created your own drop shadow!
Hand your shadow edits over to soona
With the proper technique and approach, shadows can turn an average photo into something stunning. Shadowing effects help bring your product to life and highlight the finer details. Upgrade the visual appeal of your product photos and entice customers to learn more about your brand with this simple photography hack.
But not everyone has the time to fumble in Photoshop, or the skills necessary to achieve advanced edits. That’s where soona’s post-production services come in. We can edit any product asset for you, perfectly optimized and sized for any commerce or advertising channel you need.
Outside photo and video editing
Let our team retouch and enhance any outside assets for you—from product photos to video clips. Pricing as low as $9 per asset, plus a monthly subscription or a one-time booking fee.
GET STARTED
Shadows in product photography FAQs
Should product photography have shadows?
Shadows in product photography can be both beneficial and detrimental, depending on how they're used. Well-managed shadows can add depth, dimension, and realism to a product image, making it appear more three-dimensional and appealing. They can highlight the product's texture and features, giving customers a better sense of what they are purchasing. Poorly controlled shadows can obscure important details and make the product look unprofessional. Harsh, dark shadows may distract from the product itself or create an unbalanced composition.
What are the different types of shadows in product photography?
The different types of shadows in product photography include: