Your product is always the star of the show in your product photos and videos—whether it’s a lifestyle image on your social media feed, the hero image on the landing page of your website, or the simple and crisp photo in the “add to cart” page. But your background isn’t something to be ignored! The background you choose can make a huge difference in the way your prospective customers perceive your product.
Pattern! Texture! Color! Lighting! Each of these choices will send a silent message to your customers about your product and brand.
We’re here to introduce you to a brilliant way to elevate your product background: gradient. Gradient backgrounds, when executed properly, pull off a sophisticated and clean background without being too bland. Lucky for you and your brand, there are a handful of ways for every budget and skill level to achieve a great gradient look.
What is a gradient background in product photography?
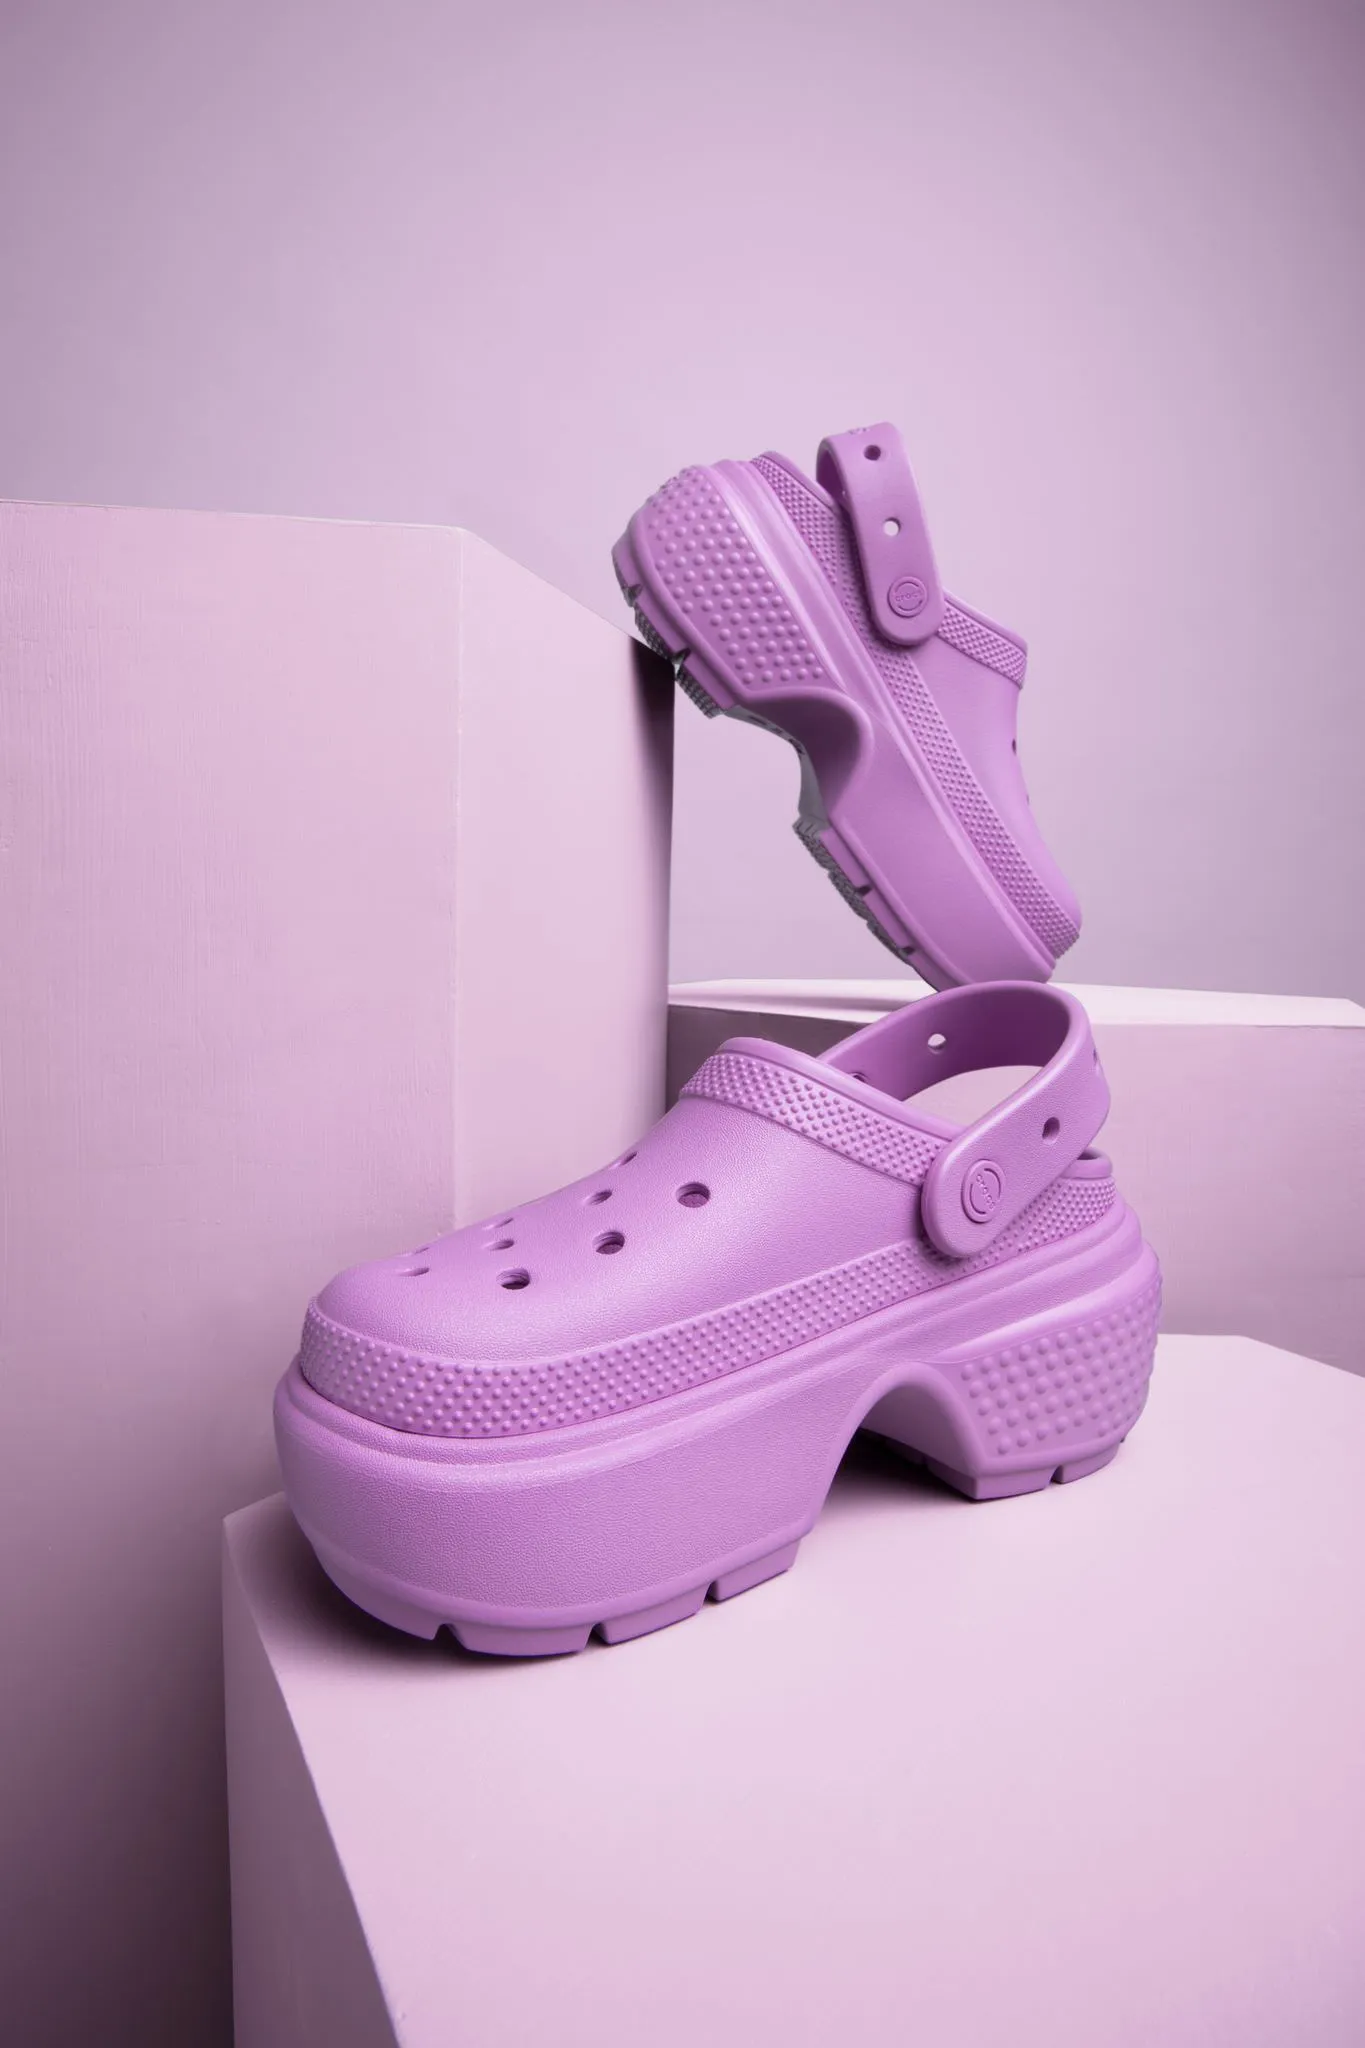
A gradient background in product photography is a type of background that transitions smoothly from one color to another or from one shade to another of the same color. This effect can be used to add depth, dimension, and visual interest to the photograph. It can make the product stand out more prominently by creating a dynamic backdrop that draws the viewer’s attention.
There are different types of background gradients:
- Linear gradient: A straight-line transition between two or more colors or shades.
- Radial gradient: A circular transition that radiates outward from a central point.
- Angular gradient: A gradient that transitions around a central point in an angular fashion.
- Reflected gradient: A gradient that mirrors itself from a central axis.
Gradients can be subtle or bold, depending on the desired effect, and they can significantly enhance the visual appeal of a product photograph by adding a sense of sophistication and focus.
How to choose a gradient
Consider which type of gradient will work best for your product: Is it something that needs to really stand out in the foreground of your photos? Or is it a product that can work well in the shadows to create a moody effect? Take a few test shots while you brainstorm to make sure your final product photos speak to your brand the way you want them to!
How to create a gradient background
Technique #1: Using light
Equipment recommendations:
- Sunset lamp
- Any high-quality white backdrop
- Some great props
This method is actually the one soona creatives use in the studio! Play with the position of your sunset light: do you want it in front of your product to illuminate the product with the color of your sunset? or would you like it to be placed behind your product so that it only illuminates the background, making your product pop with your main studio light? take some test shots to see how you’d like the shadows and colors cast.

Technique #2: Pre-made gradient backdrops
Equipment recommendations:
- A high-quality gradient backdrop (like this one)
- Your trusty studio lighting (whether that’s natural light or not)
This one is pretty simple. Choose a backdrop that naturally has a gradient or use a plain backdrop and manipulate the light to create the gradient effect. Pre-made vinyl backdrops are a common option. Make sure your backdrop is wrinkle free and placed evenly (unless asymmetry is your thing).
Keep in mind with this method, you’ll need to use lights to achieve the same level of moodiness that you can get with the sunset lamp. Use one or more light sources with modifiers such as softboxes, grids, or snoots to create a gradient effect. Position a main light source at an angle to the backdrop to create a gradual light fall-off.
You can also use gels or colored lights to add color transitions.
Adjust the distance and angles of your lights relative to the backdrop to control the gradient’s intensity and spread. Use reflectors to bounce light and flags to block light, helping to refine the gradient.
Technique #3: Gradient effect in post-production editing
Equipment recommendations:
- A plain white backdrop material
- Your favorite photo-editing program
Depending on the program you use, this step may be easier or more difficult. Take the photo with a plain white or neutral background.
Use photo editing software like Adobe Photoshop and select the background area. Apply a gradient fill using the gradient tool, choosing your desired colors and directions. Adjust the opacity and blending modes to integrate the gradient naturally with the product.
If you’ve never edited a gradient background before, don’t fret! There are endless tutorials (some built into apps and some on YouTube) for how to achieve effects.
Gradient background examples for inspo
Recess
Beverage brand Recess has mastered the multicolor gradient on its IG feed. It’s incorporated an ethereal sunset color palette into its brand identity—a genius way to keep the feed cohesive and also communicate the message of “cool, calm, collected.” Its method looks like post-production editing to achieve the surreal magic of its product photos.

Aesop
Aesop skincare is another brand that uses the gradient background to perfectly represent its brand. Notice its IG feed made up of natural materials: backgrounds of concrete, marble, and wood. Gradients use deep and harsh shadows. This is a great example of playing with lighting to create your desired look.

WWP Beauty
WWP Beauty used soona to create moody and dreamy product photography with a gradient background. The combination of deep purple and electric pink lighting created tons of depth while the products popped in the foreground.

Scale your business with professional product photography
if you’re ready to create stand-out product photos with a stunning gradient background, head to soona for more inspiration or to book a shoot with our experts! Let us make your content dreams a reality.
{{studio-ad}}
Gradient product photography FAQs
How to make a gradient background?
Creating a gradient background for product photography can be done in several ways, depending on whether you prefer to achieve the effect in-camera or through post-processing. Learn more in this post.
What is gradient in photography?
In photography, a gradient refers to a smooth transition between colors or shades. This transition can occur within the background, the subject, or even the lighting. Gradients are used to add depth, dimension, and visual interest to an image. In product photography, gradients are particularly effective in highlighting the product by drawing attention to it and creating a dynamic backdrop that enhances the overall composition.
What is a background gradient?
A background gradient in photography is a type of backdrop that transitions smoothly from one color to another or from one shade to another of the same color. This effect can be used to create depth and focus, making the subject of the photograph stand out more prominently. Background gradients can be achieved through lighting techniques, painted backdrops, or digital editing.
Your product is always the star of the show in your product photos and videos—whether it’s a lifestyle image on your social media feed, the hero image on the landing page of your website, or the simple and crisp photo in the “add to cart” page. But your background isn’t something to be ignored! The background you choose can make a huge difference in the way your prospective customers perceive your product.
Pattern! Texture! Color! Lighting! Each of these choices will send a silent message to your customers about your product and brand.
We’re here to introduce you to a brilliant way to elevate your product background: gradient. Gradient backgrounds, when executed properly, pull off a sophisticated and clean background without being too bland. Lucky for you and your brand, there are a handful of ways for every budget and skill level to achieve a great gradient look.
What is a gradient background in product photography?
A gradient background in product photography is a type of background that transitions smoothly from one color to another or from one shade to another of the same color. This effect can be used to add depth, dimension, and visual interest to the photograph. It can make the product stand out more prominently by creating a dynamic backdrop that draws the viewer’s attention.
There are different types of background gradients:
- Linear gradient: A straight-line transition between two or more colors or shades.
- Radial gradient: A circular transition that radiates outward from a central point.
- Angular gradient: A gradient that transitions around a central point in an angular fashion.
- Reflected gradient: A gradient that mirrors itself from a central axis.
Gradients can be subtle or bold, depending on the desired effect, and they can significantly enhance the visual appeal of a product photograph by adding a sense of sophistication and focus.
How to choose a gradient
Consider which type of gradient will work best for your product: Is it something that needs to really stand out in the foreground of your photos? Or is it a product that can work well in the shadows to create a moody effect? Take a few test shots while you brainstorm to make sure your final product photos speak to your brand the way you want them to!
How to create a gradient background
Technique #1: Using light
Equipment recommendations:
- Sunset lamp
- Any high-quality white backdrop
- Some great props
This method is actually the one soona creatives use in the studio! Play with the position of your sunset light: do you want it in front of your product to illuminate the product with the color of your sunset? or would you like it to be placed behind your product so that it only illuminates the background, making your product pop with your main studio light? take some test shots to see how you’d like the shadows and colors cast.

Technique #2: Pre-made gradient backdrops
Equipment recommendations:
- A high-quality gradient backdrop (like this one)
- Your trusty studio lighting (whether that’s natural light or not)
This one is pretty simple. Choose a backdrop that naturally has a gradient or use a plain backdrop and manipulate the light to create the gradient effect. Pre-made vinyl backdrops are a common option. Make sure your backdrop is wrinkle free and placed evenly (unless asymmetry is your thing).
Keep in mind with this method, you’ll need to use lights to achieve the same level of moodiness that you can get with the sunset lamp. Use one or more light sources with modifiers such as softboxes, grids, or snoots to create a gradient effect. Position a main light source at an angle to the backdrop to create a gradual light fall-off.
You can also use gels or colored lights to add color transitions.
Adjust the distance and angles of your lights relative to the backdrop to control the gradient’s intensity and spread. Use reflectors to bounce light and flags to block light, helping to refine the gradient.
Technique #3: Gradient effect in post-production editing
Equipment recommendations:
- A plain white backdrop material
- Your favorite photo-editing program
Depending on the program you use, this step may be easier or more difficult. Take the photo with a plain white or neutral background.
Use photo editing software like Adobe Photoshop and select the background area. Apply a gradient fill using the gradient tool, choosing your desired colors and directions. Adjust the opacity and blending modes to integrate the gradient naturally with the product.
If you’ve never edited a gradient background before, don’t fret! There are endless tutorials (some built into apps and some on YouTube) for how to achieve effects.
Gradient background examples for inspo
Recess
Beverage brand Recess has mastered the multicolor gradient on its IG feed. It’s incorporated an ethereal sunset color palette into its brand identity—a genius way to keep the feed cohesive and also communicate the message of “cool, calm, collected.” Its method looks like post-production editing to achieve the surreal magic of its product photos.

Aesop
Aesop skincare is another brand that uses the gradient background to perfectly represent its brand. Notice its IG feed made up of natural materials: backgrounds of concrete, marble, and wood. Gradients use deep and harsh shadows. This is a great example of playing with lighting to create your desired look.

WWP Beauty
WWP Beauty used soona to create moody and dreamy product photography with a gradient background. The combination of deep purple and electric pink lighting created tons of depth while the products popped in the foreground.

Scale your business with professional product photography
if you’re ready to create stand-out product photos with a stunning gradient background, head to soona for more inspiration or to book a shoot with our experts! Let us make your content dreams a reality.
{{studio-ad}}
Gradient product photography FAQs
How to make a gradient background?
Creating a gradient background for product photography can be done in several ways, depending on whether you prefer to achieve the effect in-camera or through post-processing. Learn more in this post.
What is gradient in photography?
In photography, a gradient refers to a smooth transition between colors or shades. This transition can occur within the background, the subject, or even the lighting. Gradients are used to add depth, dimension, and visual interest to an image. In product photography, gradients are particularly effective in highlighting the product by drawing attention to it and creating a dynamic backdrop that enhances the overall composition.
What is a background gradient?
A background gradient in photography is a type of backdrop that transitions smoothly from one color to another or from one shade to another of the same color. This effect can be used to create depth and focus, making the subject of the photograph stand out more prominently. Background gradients can be achieved through lighting techniques, painted backdrops, or digital editing.


