

Discover how ghost mannequin photography can help your e-commerce business stand out. Learn the benefits, tips, and tricks to create stunning product images.
Have you ever wanted to demonstrate the fit and shape of your clothing products without having a model in the shot? Sometimes flat lay shots just don’t cut it. They lack the 3D element that many shoppers need to help break through purchase hesitation. Luckily, there’s a photography solution for that: the ghost mannequin effect.
Ghost mannequins remove any visual traces of a product mannequin or model, so all that’s left is a mysteriously (but perfectly) shaped product floating freely on a clear background. Sometimes this is exactly the push your customers need to make the purchase.
The invisible mannequin effect might be just what you need to get the best product photos for your brand. Read on to learn everything you need to know about ghost mannequin product photography and how to work your own Photoshop magic. 🧙
{{studio-ad}}
What is the ghost mannequin effect?
The ghost mannequin technique (a.k.a. the invisible mannequin effect) is when photographers use photo retouching and Photoshop editing magic to remove models and mannequins from product images. The end result is essentially apparel on what looks like an invisible body—hence the name invisible ghost mannequin.
There are a few reasons why you might want to use the ghost mannequin technique for your product photos:
- Cost savings. Invisible mannequins are more cost-effective than hiring models. It goes to show that you don’t need a model to nail your product shots—you can simply use plastic mannequins to give the garment shape and then Photoshop to remove the mannequin from your images.
- Shopper-friendly. E-commerce success revolves around building intimate connections with your customers. Ghost mannequin photography creates a more memorable and more relatable user experience for shoppers. Plastic mannequins, on the other hand, have a tendency to be rather unrelatable. No head. No arms. No legs. Is this even a person? 🤔 That’s all it might take to get potential sales to navigate away from your products—and into the arms of your competitors.
- Reduced returns. Ghost mannequins can give your customers a better idea of what your product looks like without the visual distraction of having an actual model in the image. This means fewer surprises when they do receive their orders—and less hassle dealing with costly returns.
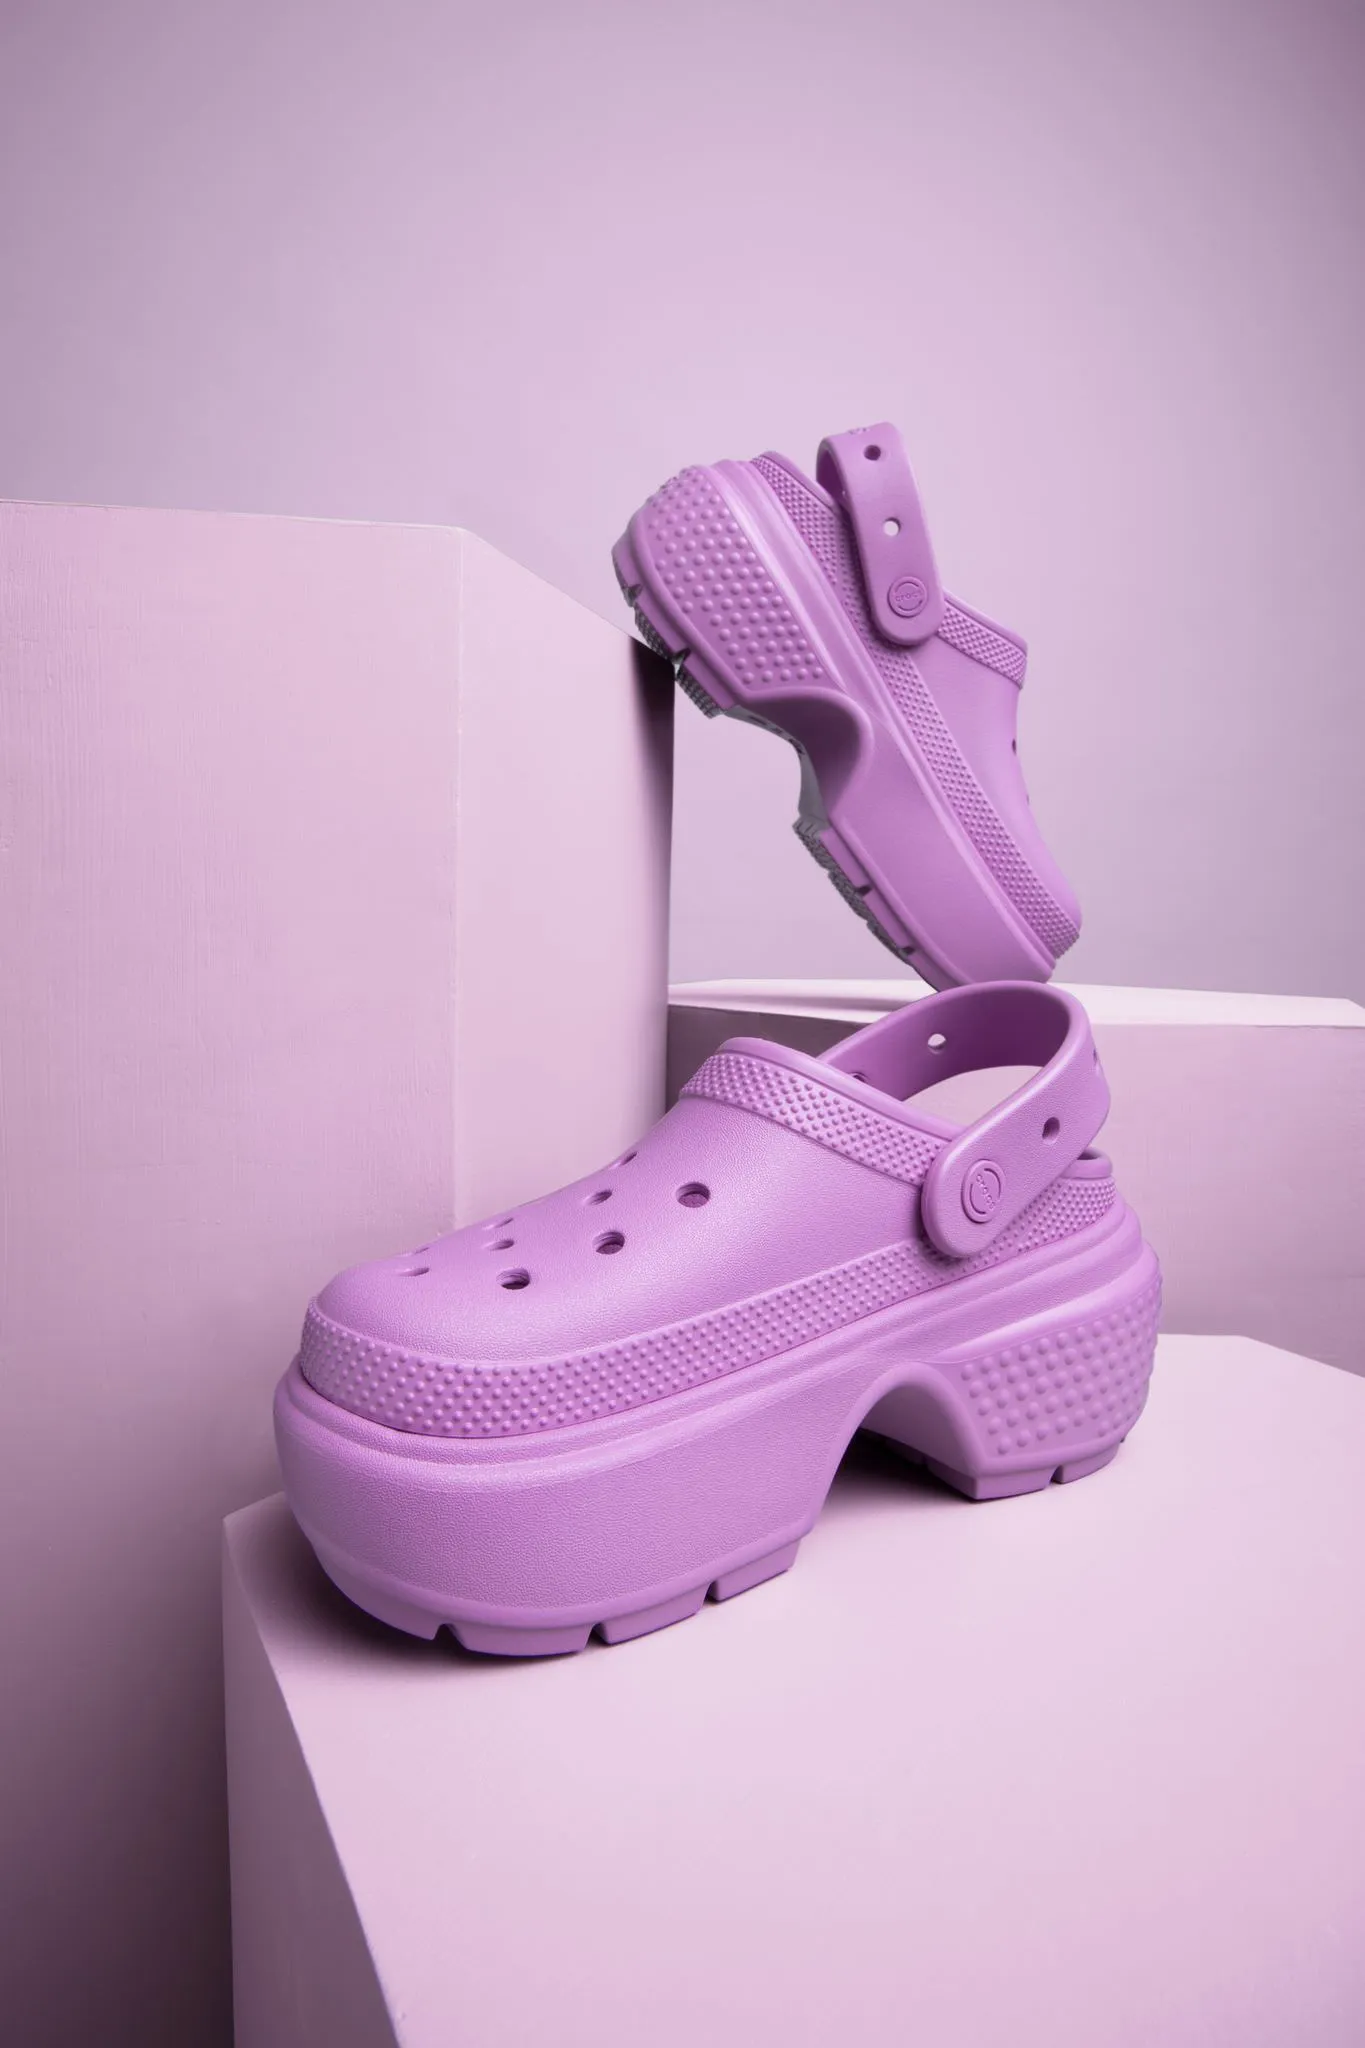
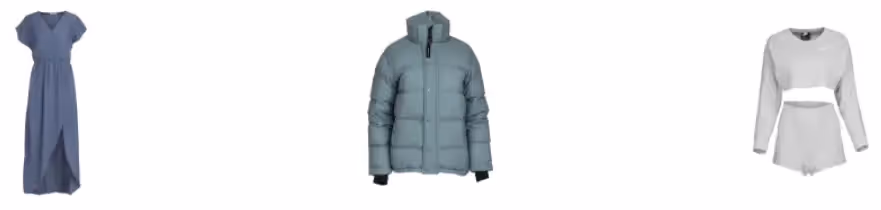
Ghost mannequin effect examples
Wondering what that final shot would look like? Here are some of our favorite soona examples
How to create the ghost mannequin effect
Ready to learn how to master the ghost mannequin effect on your own? We put together a quick and easy tutorial on how it’s done:
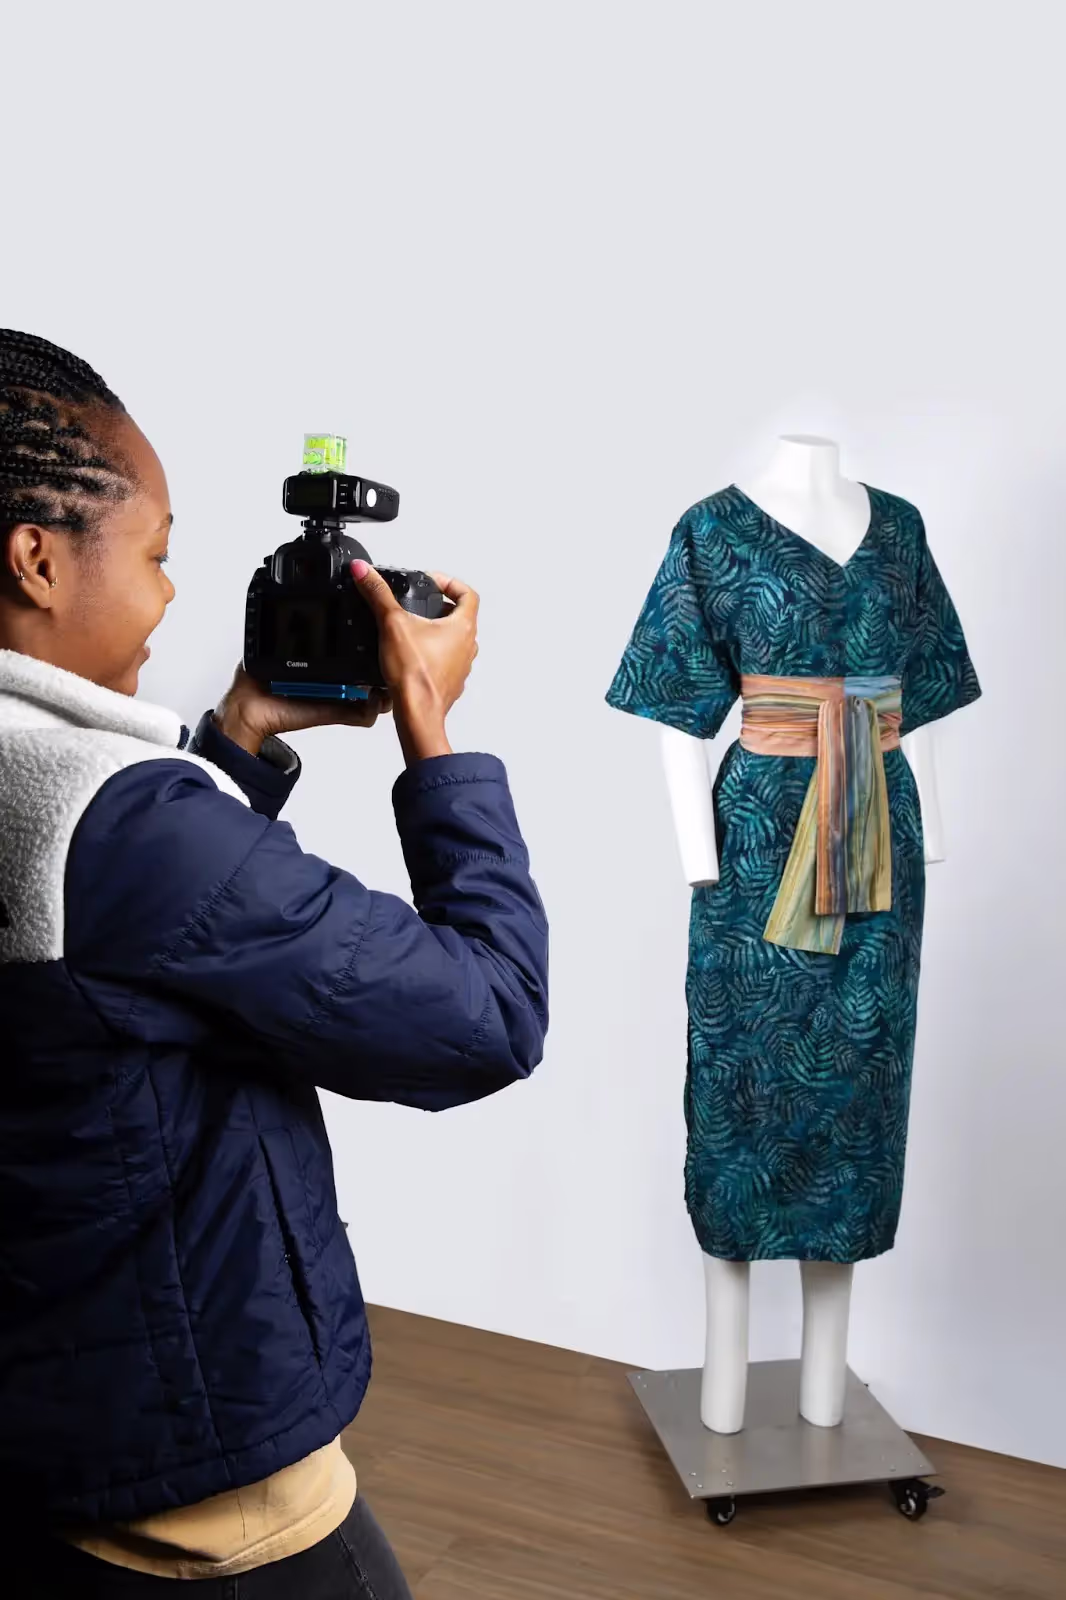
Plan your photo shoot
Step one to mastering your ghost mannequin photography is to plan your shoot. Set up your white backdrop and prep your product selection. Make sure you have all the mannequins (or models) you need. White mannequins usually work best with white backgrounds and make image editing and retouching infinitely easier.
You’ll also need to make sure you have a handle on camera and lighting techniques. High-quality photos are the key to getting the perfect invisible mannequin shots.
Each finalized product image will require at least three to four shots per item. It can sometimes take more—particularly if your product has an abstract shape or an atypical profile. Keep in mind, you’ll probably need an extra set of hands to help you get all the shots you need to put your ghost mannequin composition together.
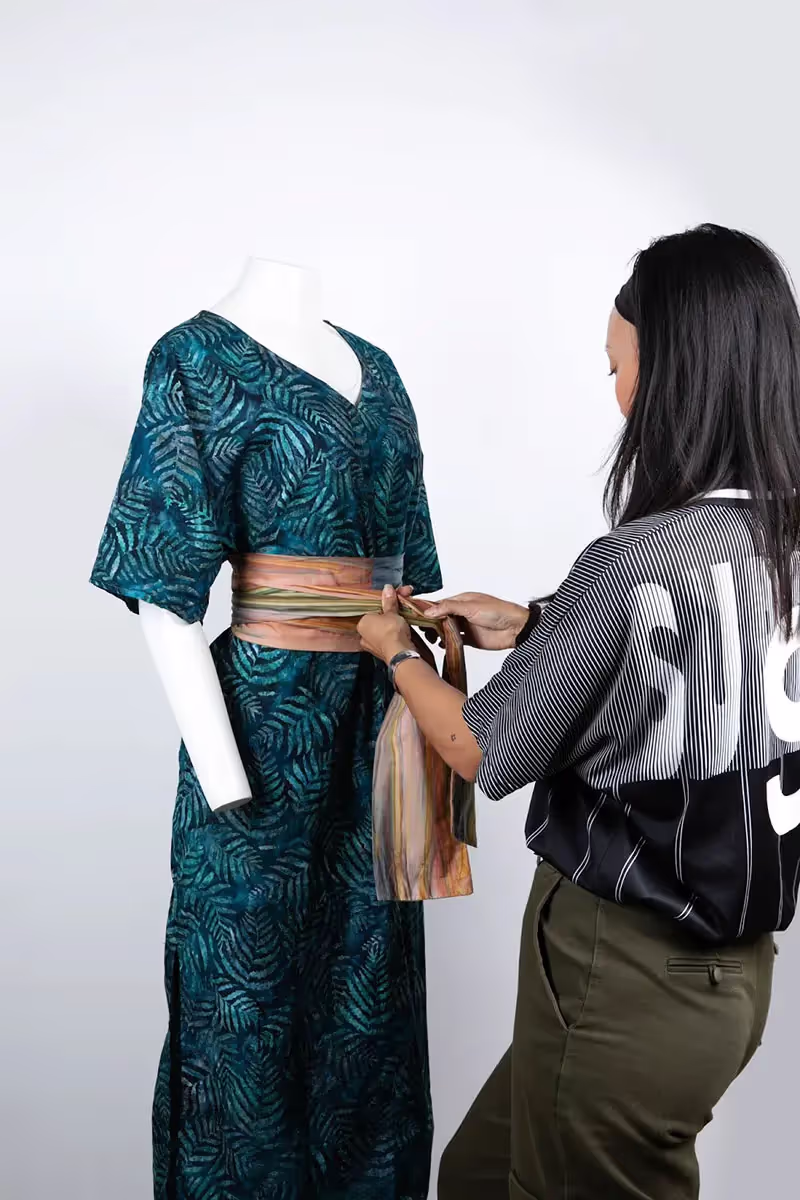
Place your products
How you place your products is just as important as good lighting when it comes to getting high-quality product photos. This is especially true for invisible mannequin photography. Your products should hang naturally when they’re placed on your mannequins or models.
Make sure you choose appropriately sized mannequins and models that fill out your products.
Pro tip: Tailor or clip the item to create a better fit.
Avoid positioning your product so you can see down the sleeves. Instead, let them drape naturally to the side.
Set your camera height around chest level for tops and at hip height for bottoms. Varying from these standards can distort your image—kind of like when that always-unflattering forward-facing camera manages to snap your favorite awkward selfie. 📸
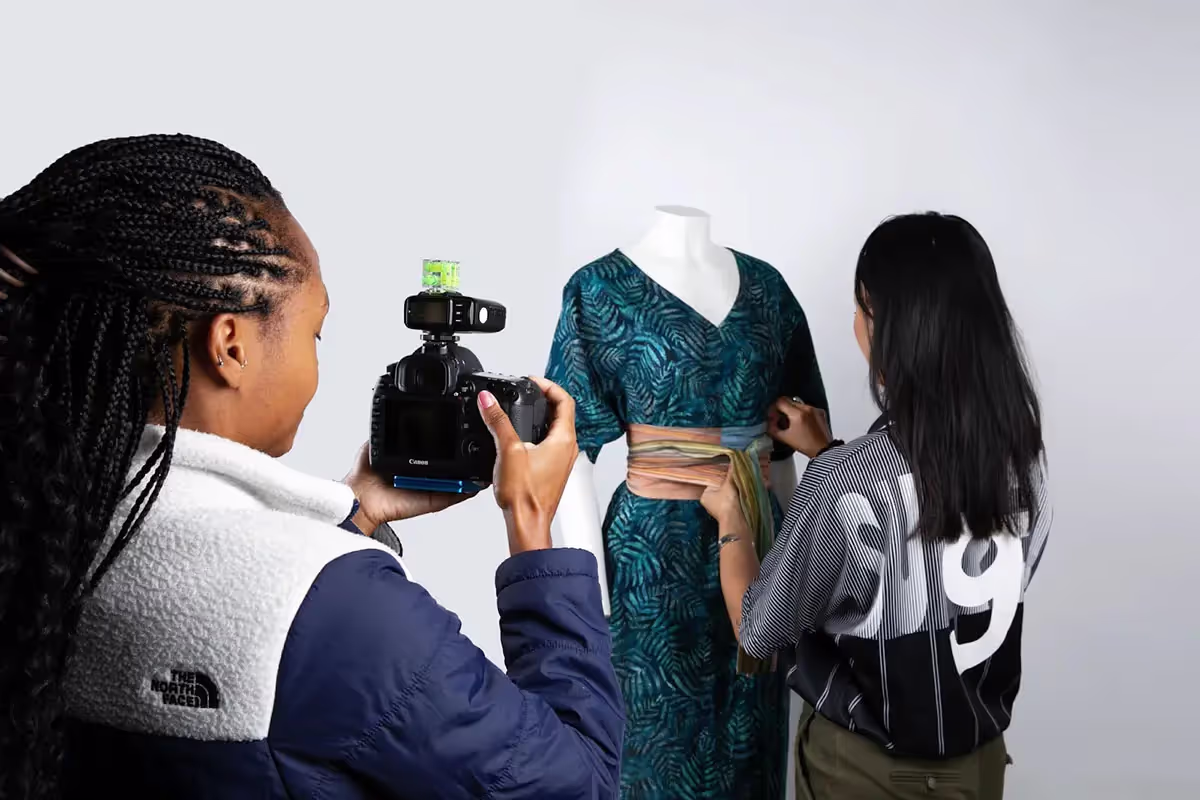
Capture your images
You’ll need three to four shots for each product at a minimum: One front and back shot on a mannequin/model and one (flat) front/back shot on a white foam board. The foam board shots act as a visual filler once you edit your images to remove your mannequin/model. You should also snap a few shots of the product inside out to fill in the void left when you digitally remove the mannequin in Photoshop.
Make sure the lighting is identical for each shot. You can mark the location and note the height of your mannequin or model before you swap out props for your foam board shot.
Related: 6 steps to create amazing clothing photography >
Break out that Photoshop magic wand
Now comes the fun part: breaking out your trusty magic wand and lasso tools in Adobe Photoshop for a little image editing magic.
Good news: Creating the invisible mannequin effect is fairly simple, especially since you just captured those perfect product photos. Here’s a step-by-step guide for getting the job done in Photoshop:
1. Add layers
Open your mannequin image and foam board image(s) for either the front or back view. Create a new background layer in each file and use the paint bucket tool to fill it with white. Make sure these white background layers are the very first layers in the layer hierarchy for both files.
2. Isolate your product
Select your product image layer and choose your favorite isolation tool: quick selection, magic wand, or lasso. Isolate your entire product from the mannequin and white background.
3. Refine & mask
Now it’s time for refining the details of that mask you just created. The refine edge tool is perfect for this task. You can find it under the select menu. Click OK on the refine edge command and voila! Your mask is placed.
Use the layer via cut command to finish the isolation process. Go ahead and delete the rest of your original image layer so only your product and the white background layer remain.
4. Repeat for foam board images
Practice makes perfect! Repeat the same three steps above for each foam board product image.
5. Combine your images
Use your inside-out foam board images to visually fill the voids left when you deleted the mannequin/model. You may need to tweak the positioning or the scale slightly to make it fit perfectly.
Remember: The transform tool can be your best friend. You can pump up the realism by using your brush tool (set to 15% opacity) to darken some areas that would naturally have shadows. And just like that, you’re ready to rock those new ghost mannequin ecommerce images!
Related: 6 best ecomm photo editing apps to level up your website >
Need ghost mannequin photography?
Thinking about using ghost mannequin photography to help take your ecommerce business to the next level? Invisible mannequin photography is a great way to showcase your products in 3D—without using any distracting models or backgrounds. But all of this can take some time and effort.
Not enough time or resources to handle invisible mannequin shots on your own? See how we can help bring your ghost mannequin product photo visions to life.
Ghost mannequin styling
Perfectly represent the fit and shape of your apparel product. Ghost mannequins add dimension and create visually consistent photos for e-commerce.
Ghost mannequin photography FAQs
What is the ghost mannequin effect in photography?
The ghost mannequin effect in photography is a technique used to create the illusion that a garment is being worn by an invisible model. This is achieved by photographing the clothing on a mannequin and then editing out the mannequin in post-production. The result is a hollow or “ghostly” appearance that showcases the shape and fit of the clothing without any distractions.
How to make a ghost mannequin photo?
- Photograph the garment: Take multiple photos of the garment on a mannequin. Ensure you capture all necessary angles, including the front, back, and any detailed areas.
- Photograph the inside: Remove the garment from the mannequin and photograph its interior, particularly areas like the collar, cuffs, and hems that would be visible when worn.
- Edit the photos: Use photo editing software such as Adobe Photoshop. Combine the photos by layering the garment and interior shots, then carefully remove the mannequin using masking and selection tools to achieve the ghost effect.
What apps are for the ghost mannequin effect?
- Photoshop Express
- GIMP
- Affinity Photo
- Pixlr
How to remove a mannequin from a photo?
- Open the image in editing software
- Select the mannequin
- Mask or erase the mannequin
- Combine with interior shots
- Refine the edge
Discover how ghost mannequin photography can help your e-commerce business stand out. Learn the benefits, tips, and tricks to create stunning product images.
Have you ever wanted to demonstrate the fit and shape of your clothing products without having a model in the shot? Sometimes flat lay shots just don’t cut it. They lack the 3D element that many shoppers need to help break through purchase hesitation. Luckily, there’s a photography solution for that: the ghost mannequin effect.
Ghost mannequins remove any visual traces of a product mannequin or model, so all that’s left is a mysteriously (but perfectly) shaped product floating freely on a clear background. Sometimes this is exactly the push your customers need to make the purchase.
The invisible mannequin effect might be just what you need to get the best product photos for your brand. Read on to learn everything you need to know about ghost mannequin product photography and how to work your own Photoshop magic. 🧙
{{studio-ad}}
What is the ghost mannequin effect?
The ghost mannequin technique (a.k.a. the invisible mannequin effect) is when photographers use photo retouching and Photoshop editing magic to remove models and mannequins from product images. The end result is essentially apparel on what looks like an invisible body—hence the name invisible ghost mannequin.
There are a few reasons why you might want to use the ghost mannequin technique for your product photos:
- Cost savings. Invisible mannequins are more cost-effective than hiring models. It goes to show that you don’t need a model to nail your product shots—you can simply use plastic mannequins to give the garment shape and then Photoshop to remove the mannequin from your images.
- Shopper-friendly. E-commerce success revolves around building intimate connections with your customers. Ghost mannequin photography creates a more memorable and more relatable user experience for shoppers. Plastic mannequins, on the other hand, have a tendency to be rather unrelatable. No head. No arms. No legs. Is this even a person? 🤔 That’s all it might take to get potential sales to navigate away from your products—and into the arms of your competitors.
- Reduced returns. Ghost mannequins can give your customers a better idea of what your product looks like without the visual distraction of having an actual model in the image. This means fewer surprises when they do receive their orders—and less hassle dealing with costly returns.
Ghost mannequin effect examples
Wondering what that final shot would look like? Here are some of our favorite soona examples
How to create the ghost mannequin effect
Ready to learn how to master the ghost mannequin effect on your own? We put together a quick and easy tutorial on how it’s done:
Plan your photo shoot
Step one to mastering your ghost mannequin photography is to plan your shoot. Set up your white backdrop and prep your product selection. Make sure you have all the mannequins (or models) you need. White mannequins usually work best with white backgrounds and make image editing and retouching infinitely easier.
You’ll also need to make sure you have a handle on camera and lighting techniques. High-quality photos are the key to getting the perfect invisible mannequin shots.
Each finalized product image will require at least three to four shots per item. It can sometimes take more—particularly if your product has an abstract shape or an atypical profile. Keep in mind, you’ll probably need an extra set of hands to help you get all the shots you need to put your ghost mannequin composition together.
Place your products
How you place your products is just as important as good lighting when it comes to getting high-quality product photos. This is especially true for invisible mannequin photography. Your products should hang naturally when they’re placed on your mannequins or models.
Make sure you choose appropriately sized mannequins and models that fill out your products.
Pro tip: Tailor or clip the item to create a better fit.
Avoid positioning your product so you can see down the sleeves. Instead, let them drape naturally to the side.
Set your camera height around chest level for tops and at hip height for bottoms. Varying from these standards can distort your image—kind of like when that always-unflattering forward-facing camera manages to snap your favorite awkward selfie. 📸
Capture your images
You’ll need three to four shots for each product at a minimum: One front and back shot on a mannequin/model and one (flat) front/back shot on a white foam board. The foam board shots act as a visual filler once you edit your images to remove your mannequin/model. You should also snap a few shots of the product inside out to fill in the void left when you digitally remove the mannequin in Photoshop.
Make sure the lighting is identical for each shot. You can mark the location and note the height of your mannequin or model before you swap out props for your foam board shot.
Related: 6 steps to create amazing clothing photography >
Break out that Photoshop magic wand
Now comes the fun part: breaking out your trusty magic wand and lasso tools in Adobe Photoshop for a little image editing magic.
Good news: Creating the invisible mannequin effect is fairly simple, especially since you just captured those perfect product photos. Here’s a step-by-step guide for getting the job done in Photoshop:
1. Add layers
Open your mannequin image and foam board image(s) for either the front or back view. Create a new background layer in each file and use the paint bucket tool to fill it with white. Make sure these white background layers are the very first layers in the layer hierarchy for both files.
2. Isolate your product
Select your product image layer and choose your favorite isolation tool: quick selection, magic wand, or lasso. Isolate your entire product from the mannequin and white background.
3. Refine & mask
Now it’s time for refining the details of that mask you just created. The refine edge tool is perfect for this task. You can find it under the select menu. Click OK on the refine edge command and voila! Your mask is placed.
Use the layer via cut command to finish the isolation process. Go ahead and delete the rest of your original image layer so only your product and the white background layer remain.
4. Repeat for foam board images
Practice makes perfect! Repeat the same three steps above for each foam board product image.
5. Combine your images
Use your inside-out foam board images to visually fill the voids left when you deleted the mannequin/model. You may need to tweak the positioning or the scale slightly to make it fit perfectly.
Remember: The transform tool can be your best friend. You can pump up the realism by using your brush tool (set to 15% opacity) to darken some areas that would naturally have shadows. And just like that, you’re ready to rock those new ghost mannequin ecommerce images!
Related: 6 best ecomm photo editing apps to level up your website >
Need ghost mannequin photography?
Thinking about using ghost mannequin photography to help take your ecommerce business to the next level? Invisible mannequin photography is a great way to showcase your products in 3D—without using any distracting models or backgrounds. But all of this can take some time and effort.
Not enough time or resources to handle invisible mannequin shots on your own? See how we can help bring your ghost mannequin product photo visions to life.
Ghost mannequin styling
Perfectly represent the fit and shape of your apparel product. Ghost mannequins add dimension and create visually consistent photos for e-commerce.
Ghost mannequin photography FAQs
What is the ghost mannequin effect in photography?
The ghost mannequin effect in photography is a technique used to create the illusion that a garment is being worn by an invisible model. This is achieved by photographing the clothing on a mannequin and then editing out the mannequin in post-production. The result is a hollow or “ghostly” appearance that showcases the shape and fit of the clothing without any distractions.
How to make a ghost mannequin photo?
- Photograph the garment: Take multiple photos of the garment on a mannequin. Ensure you capture all necessary angles, including the front, back, and any detailed areas.
- Photograph the inside: Remove the garment from the mannequin and photograph its interior, particularly areas like the collar, cuffs, and hems that would be visible when worn.
- Edit the photos: Use photo editing software such as Adobe Photoshop. Combine the photos by layering the garment and interior shots, then carefully remove the mannequin using masking and selection tools to achieve the ghost effect.
What apps are for the ghost mannequin effect?
- Photoshop Express
- GIMP
- Affinity Photo
- Pixlr
How to remove a mannequin from a photo?
- Open the image in editing software
- Select the mannequin
- Mask or erase the mannequin
- Combine with interior shots
- Refine the edge